Publishing to the App Store
At this point, you've at least made some minor adjustments to the Lexicon Mobile App, and are ready to publish it so that your users can download it.
In this page, we'll cover the process of publishing it on iOS.
Prerequisites
- An Apple Developer account
- An Expo account
- XCode is installed on your development machine
- EAS CLI 2.6.0 or newer
- The Lexicon Discourse plugin is already installed on your Discourse instance
To get started with TestFlight and publishing your app, you'll need an Apple Developer account.
This will enable you to interact with Apple as you go through the process of submitting to TestFlight and, eventually, the App Store.
You'll also need an Expo account so you can build your app, download it, and upload it to Apple's servers.
Finally, you'll want to have already downloaded and installed Xcode, which is what you'll use to upload your built app to Apple's servers.
If you don't yet have an account with Apple, you'll need to enroll in the Apple Developer Program first. Note that there is an annual cost associated with this.
Additionally, you'll want to make sure you have an account with Expo so you can use features like EAS Submit.
Register a new Bundle ID
Each app in Apple's App Store has a unique Bundle Identifier, or Bundle ID.
In order to publish the app anywhere, including to TestFlight, you'll need to have a Bundle ID registered for your app with Apple.
Typically, this uses the format of com.<yourcompany>.<yourappname>.
For example, if your company is named Expo, and your app is named Expo Go, your Bundle ID could be:
com.expo.expogo
You can follow these instructions to get one.
-
Fill in the following fields, and then click
Continue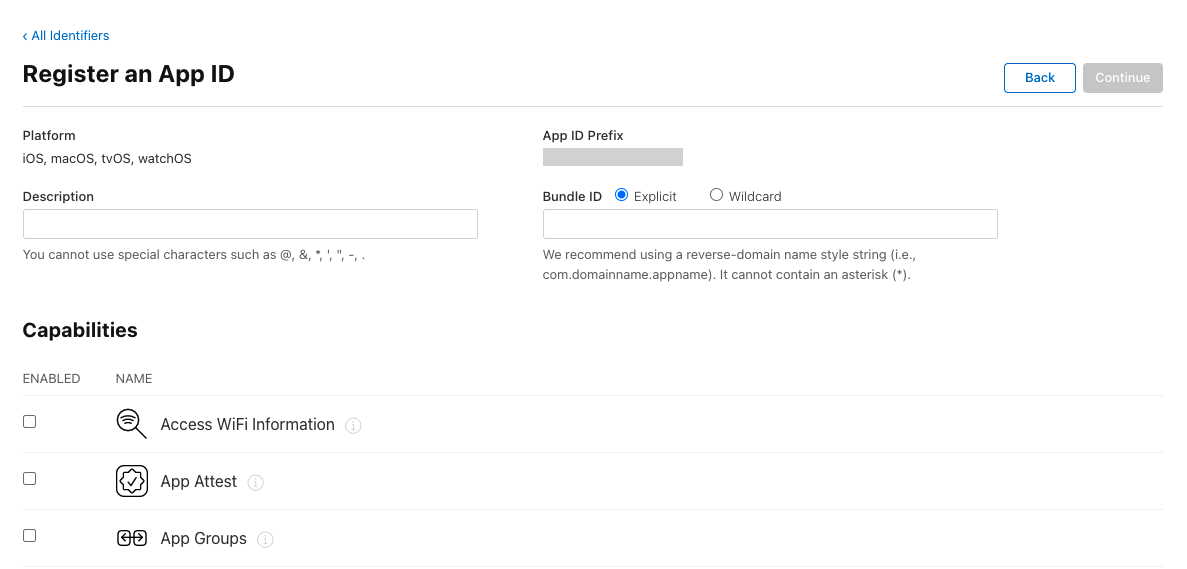
-
Description: You can insert the app name as its description.
-
Bundle ID: Select
Explicit, and then insert then insert your bundle ID in the input field.
-
-
Capabilities
- You can leave this section empty.
Add a New App in App Store Connect
Steps:
-
Sign in to your App Store Connect account.
-
Click on
My Apps.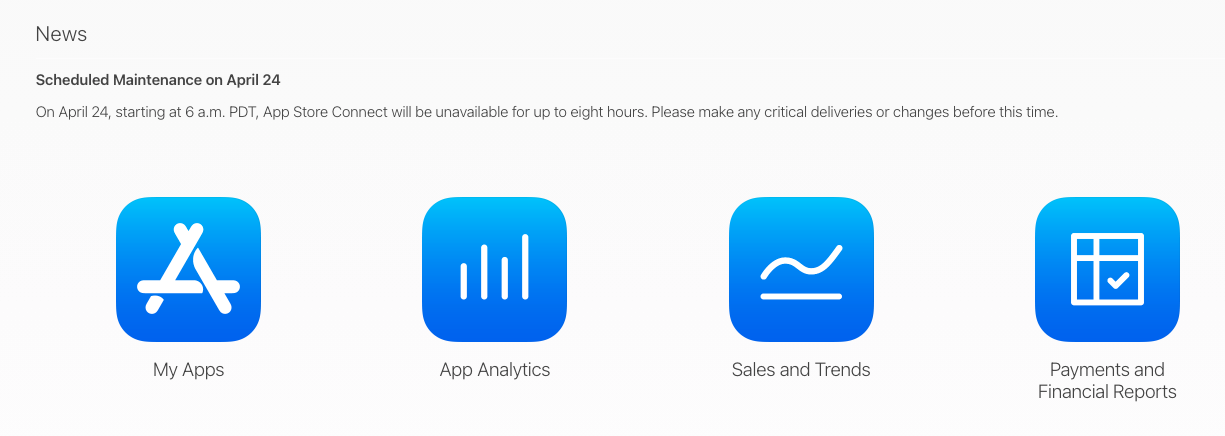
-
Click on the
+button to add new app.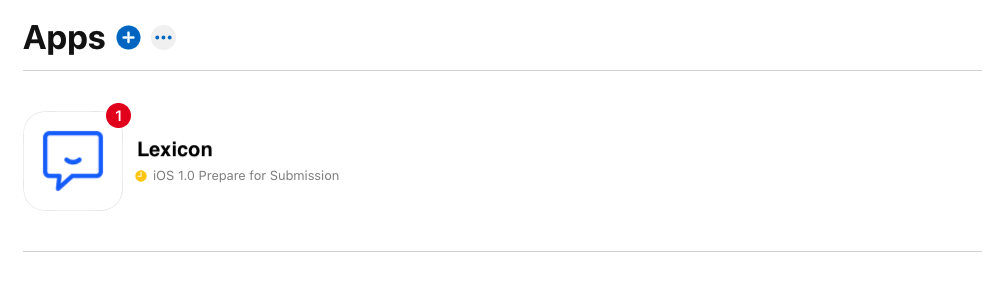
-
Fill out the requested information about your app, and then click
Create.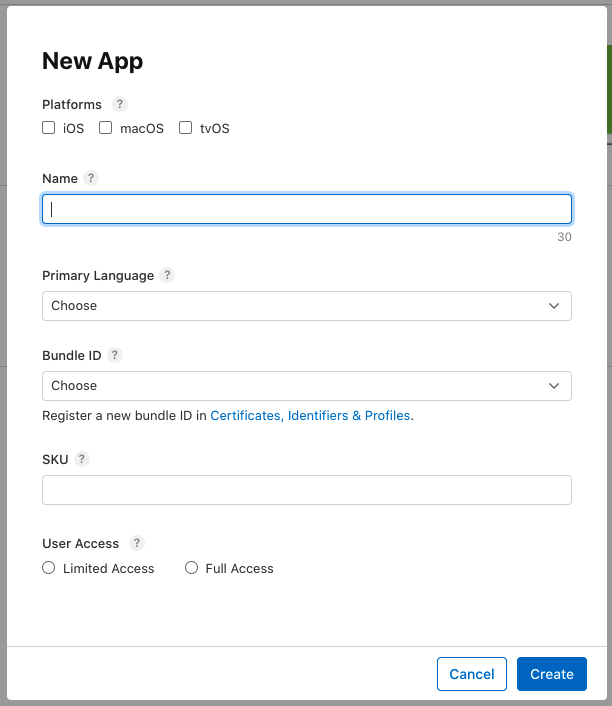
- Platforms: Select
iOS. - Name: The name of your app, as it will appear on the App Store and user's devices.
- Primary Language: The primary language that will be used if localized app information is not available.
- Bundle ID: Choose the Bundle ID you created above.
- Note: double-check that it's correct, because you can not change it afterwards.
- SKU (Stock Keeping Unit): A unique ID to differentiate your app from the others, similar to a product ID.
- User Access: Full access means all users will have access to the app, while limited access means that the app can only be accessed by certain roles defined within App Store Connect.
- Platforms: Select
Configuration
After creating the app in App Store Connect, you'll want to jump back over to the codebase and make some adjustments.
Build Config
If you haven't yet installed the EAS CLI, follow the instructions in the tutorial.
First, you'll need to ensure you've set your app name and slug in frontend/app.json. The slug is used as part of the URL for your app on Expo's web services, so it is recommended to use kebab-case (e.g., my-lexicon-app).
Replace these placeholders with your desired values:
Note below that scheme is included. If you want email deep linking support in your app, you must specify a scheme, and then configure the Lexicon Discourse plugin with the same scheme.
"name": "<your app name>",
"slug": "<your app slug>",
"scheme": "<your app scheme>",
Next, configure EAS Build by running this command from the frontend/ directory:
eas build:configure
The EAS CLI will prompt you to specify android.package and ios.bundleIdentifier if those values are not already provided in app.json. You'll want to add the bundle ID you just registered in App Store Connect as the bundleIdentifier.
Then you can see that the value has been updated in the ios section of frontend/app.json file.
   "ios": {
      "supportsTablet": false,
      "buildNumber": "1.0.0",
      "bundleIdentifier": "<your bundle ID>",
      "config": {
        "usesNonExemptEncryption" : false
      }
    },
We set usesNonExemptEncryption to false because Lexicon doesn't leverage that feature.
For further details, please take a look at this link from Apple's documentation.
Setup Config Values
When publishing your app, it is necessary to deploy Prose somewhere publicly accessible, perhaps on a cloud hosting provider like AWS or DigitalOcean. If Prose is only running on your local machine, users that download your app won't be able to use it. Check the documentation to deploy Prose if you haven't already.
Next, configure the Prose URL for your build in Config.ts. You can set a different URL for each build channel.
In the original release of Lexicon, the Prose URL was specified in frontend/.env. However, as part of migrating to Expo's EAS feature, we centralized the configuration into frontend/Config.ts to save you the trouble of needing to maintain it in more than one place, as suggested in the Expo documentation
const config = {
  // ...
  buildChannels: {
    preview: {
      proseUrl: 'http://PLACEHOLDER.change.this.to.your.prose.url',
    },
    production: {
      proseUrl: 'http://PLACEHOLDER.change.this.to.your.prose.url',
    },
  },
};
Setup Apple Dveloper Account
Lastly, please adjust these fields in eas.json with your account information to submit the app:
   "base": {
      "ios": {
        "appleId": "<your apple ID>",
        "ascAppId": "<your App Store connect ID>",
        "appleTeamId": "<your apple team ID>"
      },
      ...
   },
- appleId: your apple ID (e.g.,
[email protected]). - ascAppId: your App Store Connect app ID. Find your ascAppID by following this guide (e.g.,
1234567890). - appleTeamId: You can check your apple team ID here (e.g.,
12LE34XI45).
Build your App for iOS
Before publishing, you'll need to build your app by instructing Expo to generate an iOS build.
It is recommended to build your app with the preview profile before releasing to verify that it works as expected. See this tutorial to learn more about build profiles.
Run this command:
eas build --platform ios --profile preview
When you run the above command, Expo will prompt you for your Apple ID and password.
Once the above step has been completed, login to your account on Expo and download your newly built app.
Navigate to your project in the Expo web console, then click on the Builds menu located on the left-hand side of the screen.
-
Click on the project you want to install.

-
Download the iOS build by pressing the
Downloadbutton in theBuild Artifactsection.
This will download a tar file containing your app. Extract the file, then drag it to your simulator to install it. See this section of the tutorial to learn about running the app on real devices.
Once you have verified that the app runs as expected, you can proceed to build it for release:
eas build --platform ios --profile production
The approach for a production build is similar to the one used for generating a preview build. However, unlike a preview build, you won't be able to launch the production build in the iOS simulator—it is intended solely for publishing to the App Store.
Once this process is completed, you can proceed with submitting it to Apple. This process typically involves Apple's TestFlight service.
Submit to TestFlight
TestFlight is a key aspect of Apple's Developer Program, which enables developers to provide beta users with access to their app under less restrictive review requirements.
With TestFlight, you're able to invite users to test your app and collect their feedback before releasing it to the public on the App Store. You can learn more about TestFlight here.
Submitting an iOS app is much easier with EAS Submit. This is covered in more detail in the tutorial.
Run the following command to start publishing the app to TestFlight:
eas submit --platform ios --profile production
Once the process has completed successfully, we can check the build in App Store Connect.
In App Store Connect, click on the TestFlight Tab.
You'll see the status of your built version.
- Red indicates that you need to perform some action.
- Yellow indicates that some aspect of the process is pending—either from you, or from Apple.
- Green indicates that the build is being tested in TestFlight, or is ready to be submitted for review.
You won't be able to begin beta testing with TestFlight until an official tester from Apple verifies your app.
In order to allow Apple to properly test your Lexicon-powered app, they'll need to have credentials to login your Discourse site.
Before submitting your app, you'll need to create those credentials in Discourse and specify them in App Store Connect.
- In App Store Connect, click on your app.
- Click on TestFlight App.
- Click on Test Information in the sidebar on the left-hand side.
- Fill the required fields, then check the
Sign in requiredcheckbox, and enter the credentials.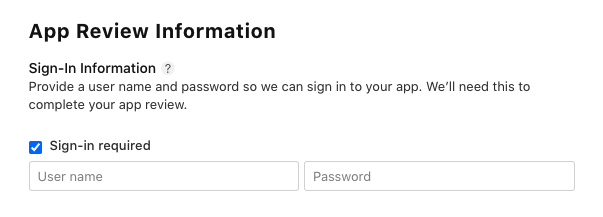
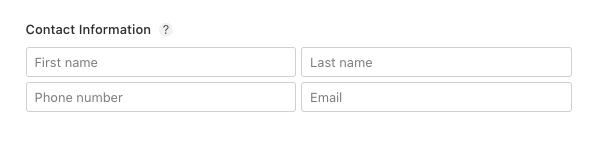
- Please also provide information for a person to contact if the review team needs additional information.
Specify Users for Beta Testing
Beta Test Users can belong to an Internal Group or an External Group.
You can specify internal users by going to the Internal Group section, and clicking on App Store Connect Users.
Similarly, you can specify external users by selecting External Groups, and clicking on Add External Testers.
More Information
TestFlight and App Store Connect are sophisticated tools to help with the process of submitting, testing, and publishing your app.
If you have further questions or just want to learn more, we'd recommend that you make use of Apple's documentation, which is very high quality.
For more information about TestFlight in general, read the documentation.
Similarly, for specific information about beta testing with TestFlight, check out Testing Apps with TestFlight.
Publish to the App Store
Once you've successfully passed Apple's review process and have received enough feedback from your beta testers, you're ready to publish to the App Store and go live! 🎉
As a few final reminders, double-check that...
- Your Discourse instance is online, reachable, and functioning correctly.
- The built version of your app is configured to point at the correct Prose server.
- Your Prose server is online, reachable and healthy.
- Your Prose server is deployed with the recommended guidlines for production.
- In particular, ensure that its traffic is encrypted using an SSL certificate.
Next, we'll guide you through the process of publishing your app for Android devices on the Google Play Store.